On-model photography at Istanbul studios runs 500 to 1,500 Turkish lira (roughly 12 to 35 dollars) per product. Across a 100-product catalog, that is a serious budget line on its own. The good news: most catalog shots do not need a model at all, and the ones that do now have an alternative.
This guide covers the four ways to shoot clothing without hiring a model: flat lay, hanger shots, ghost mannequin, and the newest player, AI virtual models. For each one you will see the cost, the equipment and which products it suits.
First decision: which shots can go model-free?
An e-commerce product page feeds on two kinds of imagery. Catalog shots show the product clean, flat and comparable; storefront shots show it worn, in an atmosphere, and create the desire to buy. Model-free methods are perfect for the first group. For the second group there are two options: a real model or an AI virtual model. Make this split first, and both your budget and your shot list fall into place.
1. Flat lay: the cheapest way in
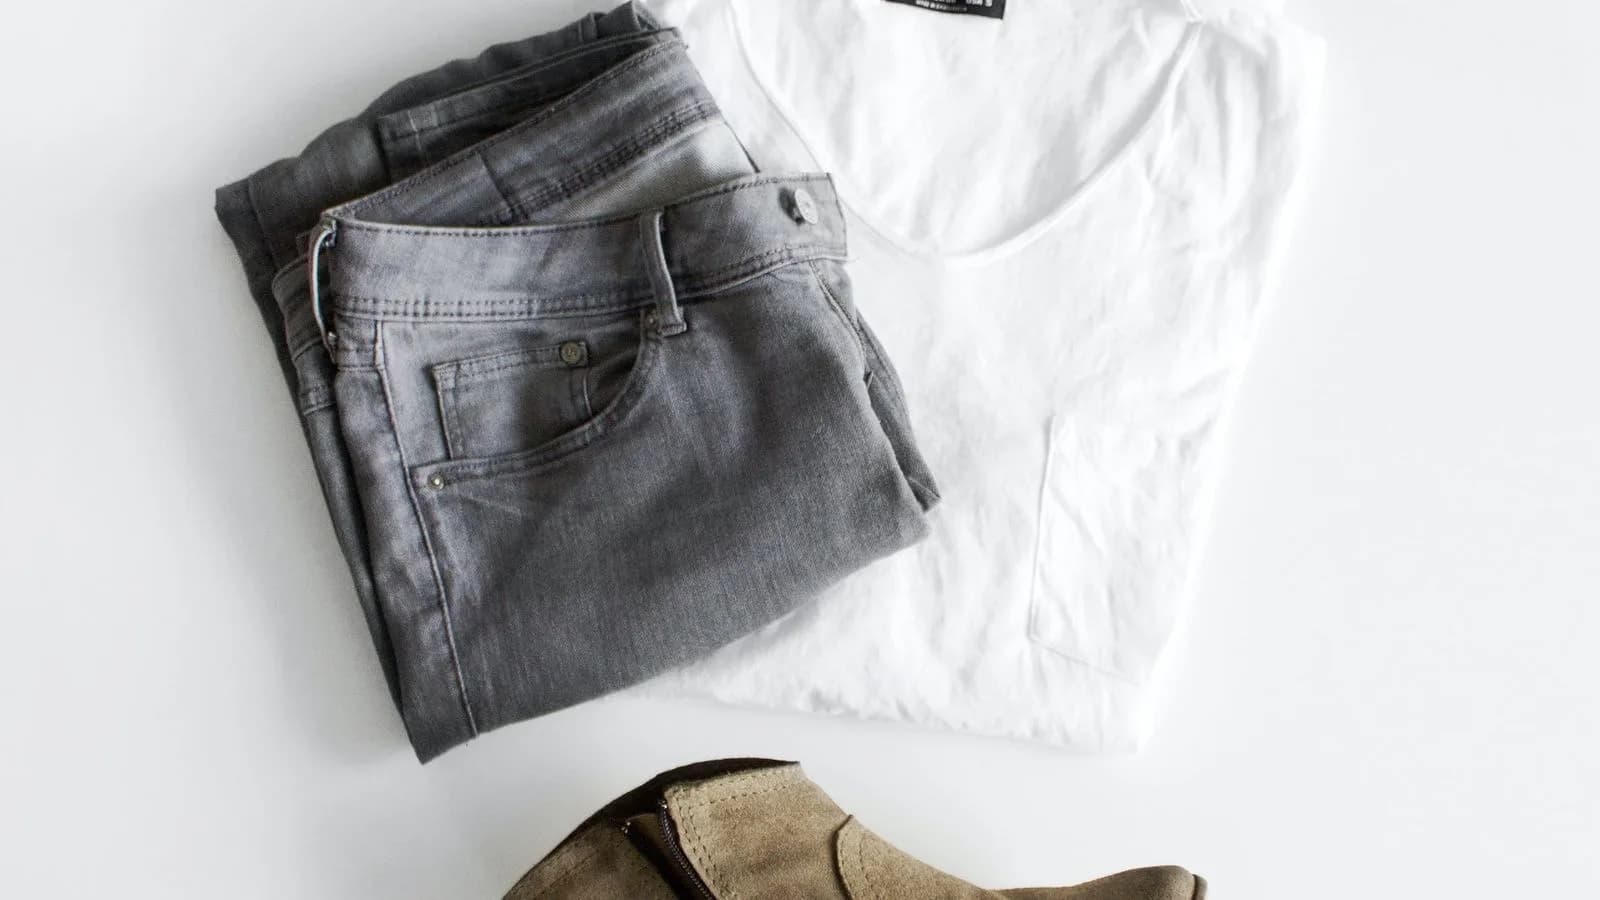
Laying the garment on a flat surface and shooting from above is the simplest model-free method. A phone is enough; what matters is arrangement and light.
- Keep the surface plain: white backdrop card, light wood or smooth concrete. A patterned surface competes with the product.
- Light from one direction and watch the shadows; window light outside midday hours gives the cleanest result.
- Check the neckline and shoulder alignment; broken symmetry is the first thing the eye catches.
- Fix sleeves and hems with double-sided tape; add gentle volume with tissue paper inside the garment.
- Keep the same distance and angle across the whole catalog; consistency beats individually pretty shots.
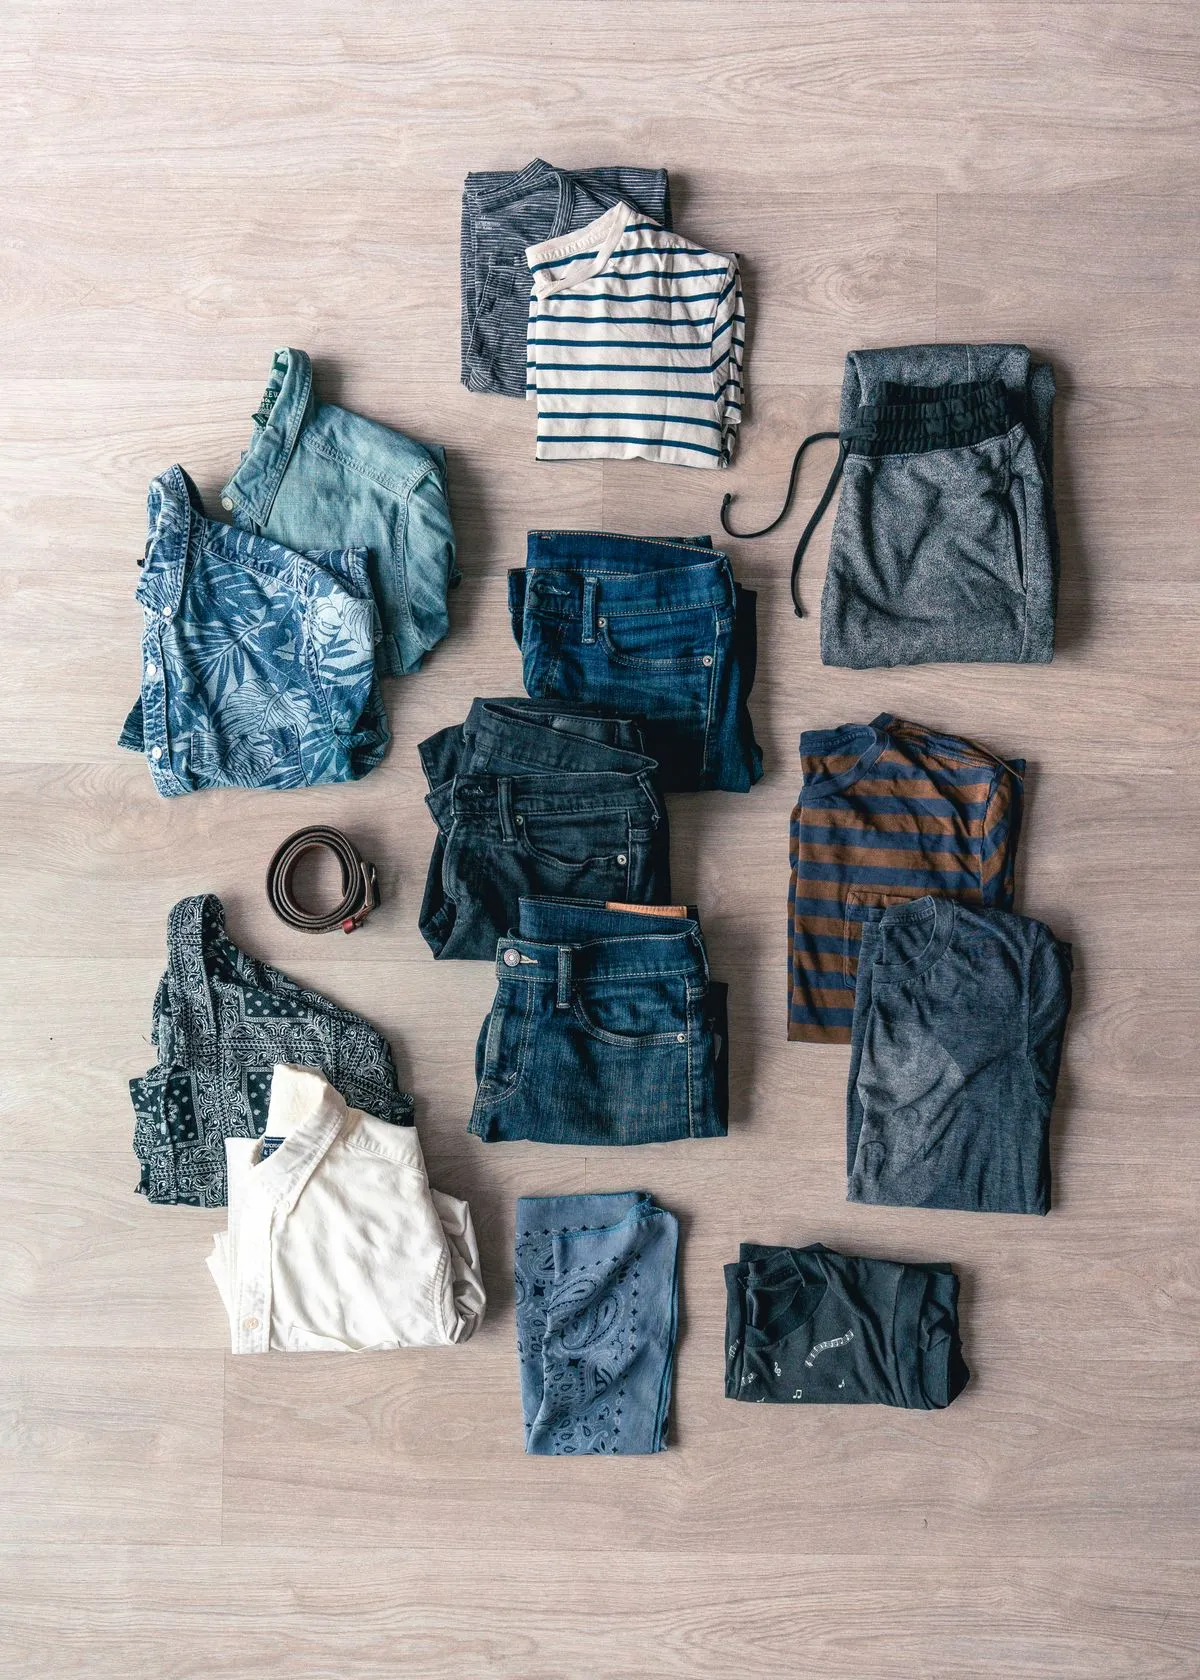
Flat lay works beautifully for knitwear, t-shirts, kidswear and accessories, anything soft-structured. It falls short on products where cut and drape matter: jackets, dresses and shirts lose their shape when laid flat.
2. Hanger shots: fast and on-brand
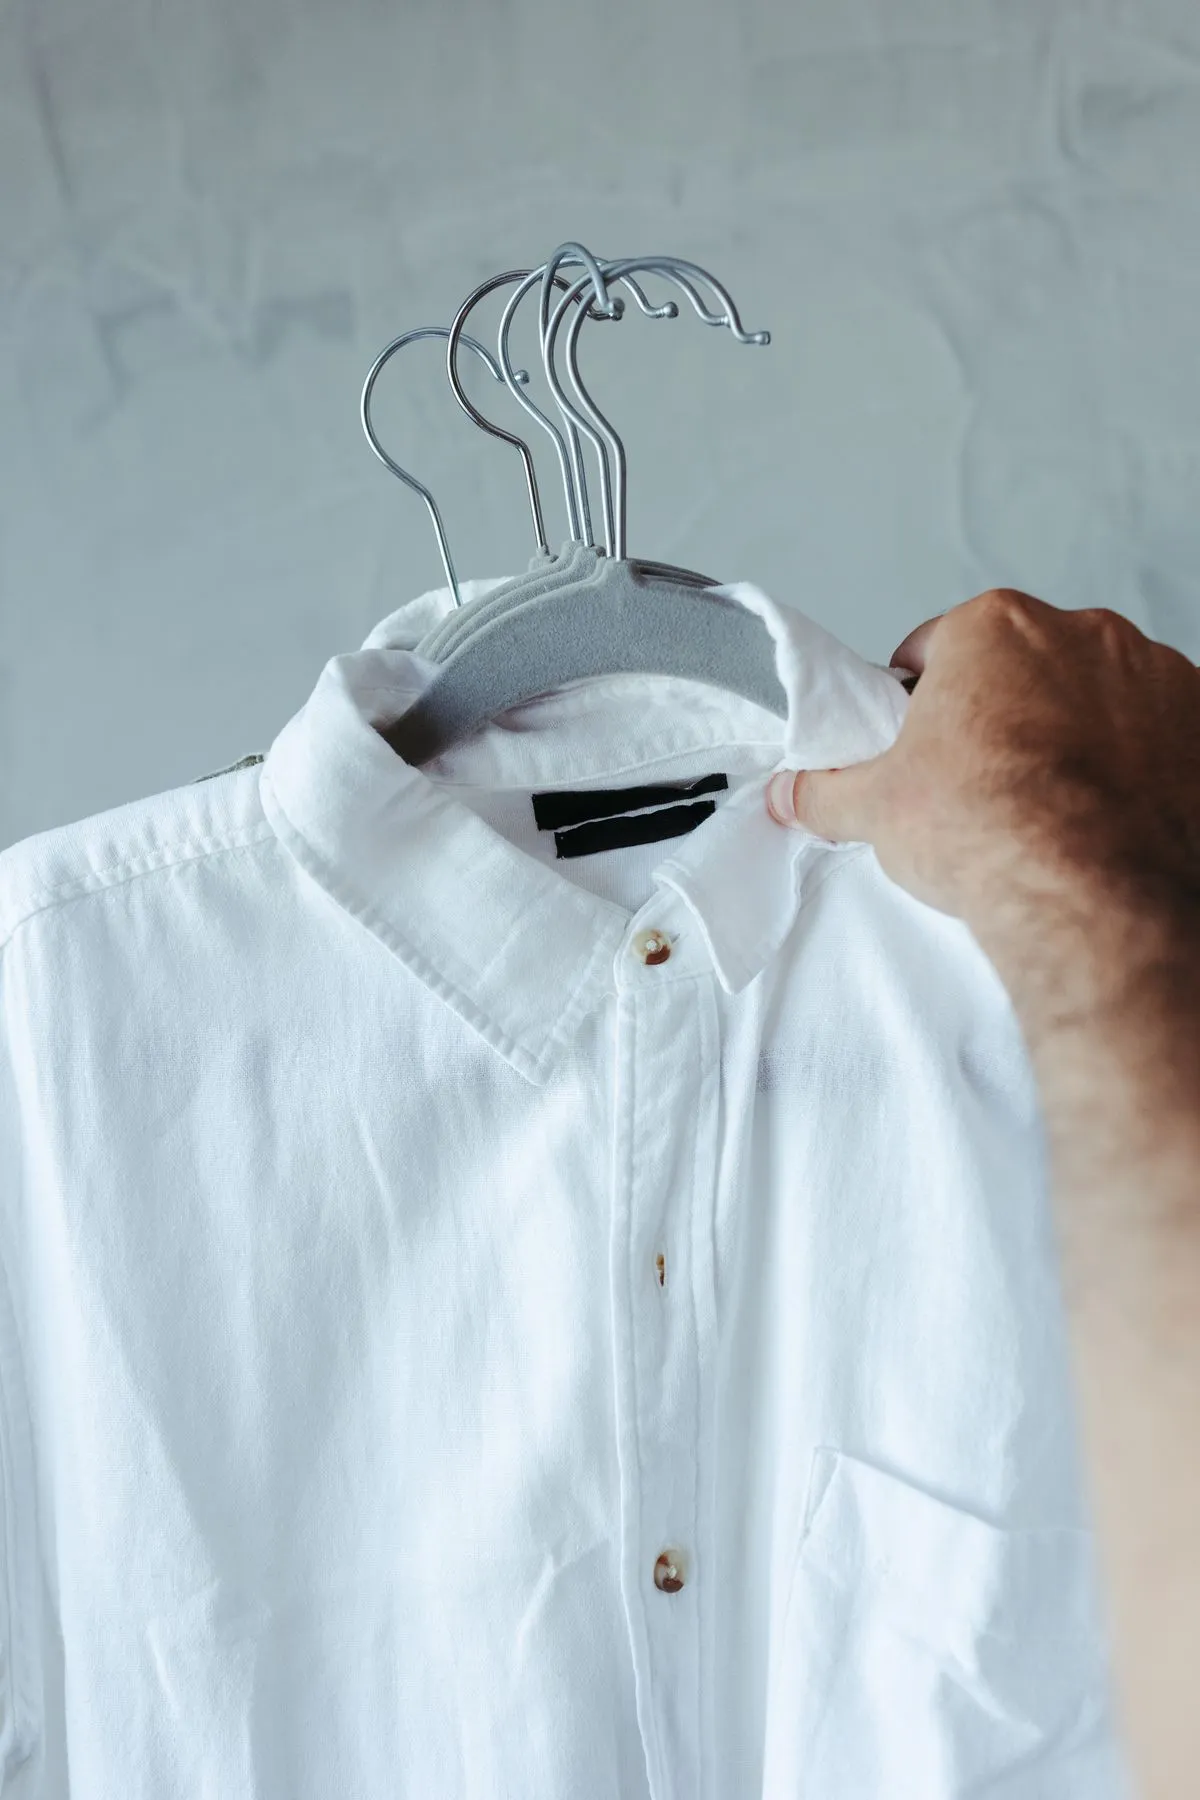
Hanging the product on a nice hanger against a plain wall looks one step more "boutique" than flat lay. The hanger itself becomes part of your brand language: wood reads natural and premium, velvet reads soft, metal reads minimal.
The strength of hanger shots is speed: steam it, hang it, shoot it in minutes. The weakness is the same as flat lay: no three-dimensional form. Womenswear especially loses its waist and hemline. For flat-cut products like men's shirts, it is perfectly adequate.
3. Ghost mannequin: the e-commerce classic
That three-dimensional look you see on major e-commerce sites, where the garment seems worn by an invisible body, is called ghost mannequin. The method: dress the product on a mannequin and shoot it, then take a second frame showing the inside of the collar (by turning the garment inside out or shooting the neck separately). The two frames are merged in editing software and the mannequin is removed entirely.
What you need to do it yourself
- A photography mannequin with removable parts; a new one costs around 700 to 800 dollars as of 2026.
- A white or light gray backdrop, so the product edges can be selected cleanly in editing.
- A tripod: the two frames must align perfectly, so the camera cannot move.
- Editing: layer merging and clipping in Photoshop or similar. Budget 10 to 20 minutes per product.
If you outsource it, studios charge from about 12 dollars per product, with volume discounts as quantities grow, and clipping, retouching and dust cleanup are usually included. Full-service packages can reach 25 to 35 dollars per product.
Ghost mannequin is the right catalog choice for anything that needs body shape: shirts, dresses, coats, jackets, trousers. The one thing it cannot give you is the human element: fabric in motion, outfit context and a sense of scale.
The three most common ghost mannequin mistakes
- Skipping the collar frame: Without the second frame, the inside of the neck stays empty in editing and the product looks "cut". Two frames is the rule; there is no exception.
- Shooting the two frames in different light: If the light changes between frames, the seam of the composite shows. Set the light once, shoot both frames back to back.
- Matching mannequin color to the product: A white product on a white mannequin turns edge selection into torture. Keep contrast between the two.
There is also a known home workaround if a mannequin is out of budget: dress the garment on a torso cut from thick foam board and fix it on a hanger. It will not match studio quality, but on a well-ironed shirt it works surprisingly well.
4. AI virtual models: no mannequin, but a model in the shot
The newest of the four methods resolves a contradiction: there is NO mannequin, yet the final image HAS a model. You upload a plain photo of the product (even your flat lay or hanger shot works), and the system renders it on a realistic virtual model in the pose and scene you choose. We explained the technology in our post on AI product photography.
This closes the biggest gap of model-free photography: fabric drape, outfit context and storefront imagery no longer require a model budget. At Wearon Studio we built this into a daily workflow: upload your flat shot, pick a model and scene, and get on-model images in minutes for a few credits per product. There is a dedicated studio for modest fashion too. You can try it with a free demo account.
The honest limit: an AI model image does not carry the full emotion of a real campaign shoot. For the hero images that define a brand, real photography is still its own league. For the daily catalog and storefront flow, the gap has closed.
The four methods side by side
- Flat lay: Lowest cost, medium effort, flat catalog output. Ideal for knitwear, t-shirts and kidswear.
- Hanger: Low cost, least effort, clean and quick. Enough for flat-cut products.
- Ghost mannequin: From about 12 dollars per product at a studio, or equipment plus real editing effort at home. The standard for any catalog shot that needs 3D form.
- AI virtual model: A few credits per product, minutes of effort. The only method that delivers on-model imagery on a model-free budget.
Which method for which product?
A practical rule: if the product keeps its shape when laid flat, flat lay is enough; if it loses shape, you need ghost mannequin or a virtual model; and if the purchase decision depends on "how does it look on", add an on-model image. For most catalogs the healthy mix is: a clean catalog shot for every product (flat lay or ghost mannequin), plus a virtual model shot for the products that carry your sales.
Model-free photography and your return rate
The biggest risk of model-free catalogs is that fit stays unclear. Returns like "it looked baggier" or "it was shorter than I thought" usually start with the image, not the product. Three moves shrink that risk: add at least one on-model image per product page (real or virtual), put measurements in a clear table right next to the image, and show fabric texture in one close-up frame. Catalog shots build trust; model shots close the decision. Together they cut returns.
Three ready-made flat lay compositions
- Single product, centered: Product in the middle, equal margins. This is the marketplace main-image standard.
- Outfit grid: Main product in the center, complementary pieces (shoes, bag, accessories) around it. Works for social and storefront; keep the main product at least half the visual weight.
- Detail trio: Full frame + collar/stitching close-up + fabric texture. Three frames that answer the three questions every product page must answer.
Five golden rules of model-free shoots
- Steaming and ironing are non-negotiable; editing hides wrinkles, it does not fix them.
- Set your backdrop and light once, keep them identical across the catalog.
- Lock the white balance; the color on screen must match the color in the box.
- Use the same framing for every product; customers feel the order as they browse.
- Export as compressed webp; page speed is part of the image, for customers and for Google.
Model-free photography starts as a budget fix but, done right, becomes a lasting system: clean catalog shots from your own setup, on-model imagery from AI. Even a boutique with no model budget can match the storefront standard of much bigger brands with this pair.
Frequently Asked Questions
How much does model-free product photography cost?+
A DIY setup (backdrop, lighting, tripod) is a one-time cost of roughly 250 to 400 dollars. Studios charge from about 12 dollars per product for ghost mannequin work, with volume discounts. AI virtual model images cost a few credits per product.
What do I need for ghost mannequin photography?+
A photography mannequin with removable parts, a white or light gray backdrop, a tripod and editing software. You shoot the garment plus a separate collar frame, then merge the two and remove the mannequin.
Which products suit ghost mannequin shots?+
Anything that needs body shape: shirts, dresses, jackets, coats, trousers and underwear. Soft items like knitwear and t-shirts that keep their shape when laid flat are usually fine with flat lay.
Can I get on-model images without hiring a model?+
Yes. AI virtual model tools take a plain photo of your product and render it on a realistic model in a pose and scene you choose, with no mannequin, studio or model budget involved.