You do not need a studio for good clothing photos. Today''s phone cameras, set up with the right light and order, produce frames that comfortably carry an e-commerce store. What is required is not equipment but method. This guide covers that method: shooting clothing at home, with a phone, on a near-zero budget.
Light first: seventy percent of everything
The first thing that makes or breaks a clothing photo is light. The rule is simple: plenty of soft, single-direction daylight. In practice that means the front of a large window, at hours when direct sun is not hitting it. Direct sun casts hard shadows and burns fabric color; evening room light turns everything yellow. A white curtain turns your window into a free diffuser.
If light is short, buy one softbox or ring light; learn to get clean results from a single source before adding a second. Mixed light (window plus warm ceiling bulb) is the most common mistake: the phone''s white balance gets confused, the product color shifts, and the "color was different" return follows.
Backdrop and setup: plain, fixed, repeatable
A plain white or light gray board taped to the wall, an ironed sheet, even a clean empty wall: all of them work. What matters is that the backdrop is plain, and that it is the SAME in every shoot. Storefront unity comes from a repeatable setup; the whole topic lives in a consistent visual language.
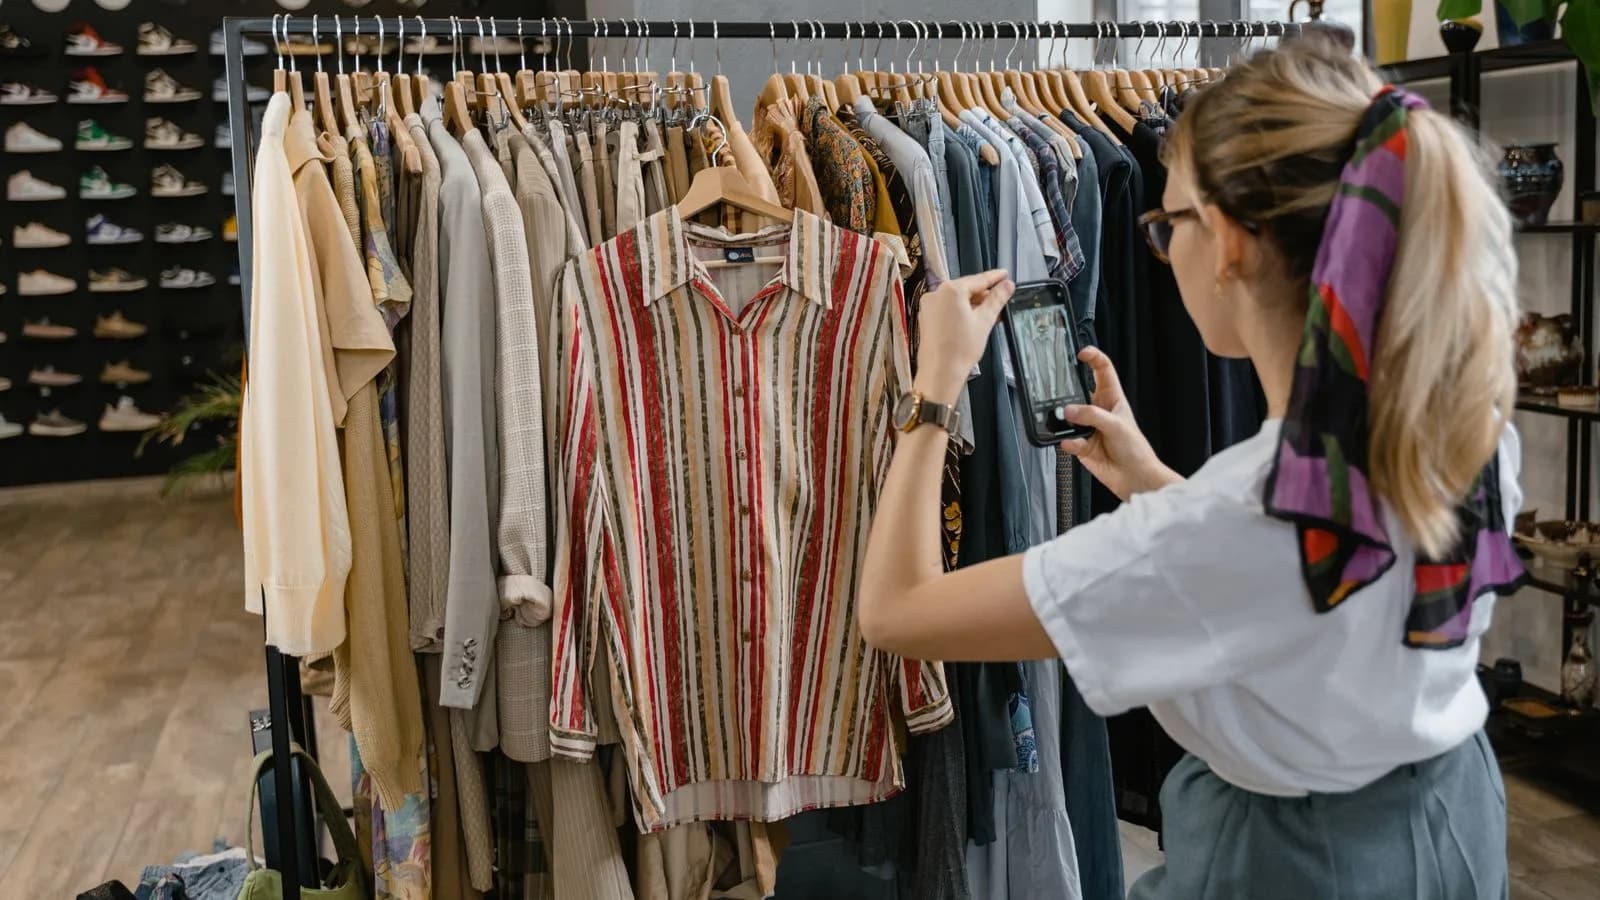
You can present the garment three ways: flat lay, on a hanger, and on a mannequin. The setups and which product suits which are in the model-free photography guide; the short version: flat lay for knits and tees, hangers for shirts and dresses, mannequins for anything that needs body shape.
The four essential frames
- Front: flat, ironed, symmetrical; the product should fill over 80 percent of the frame.
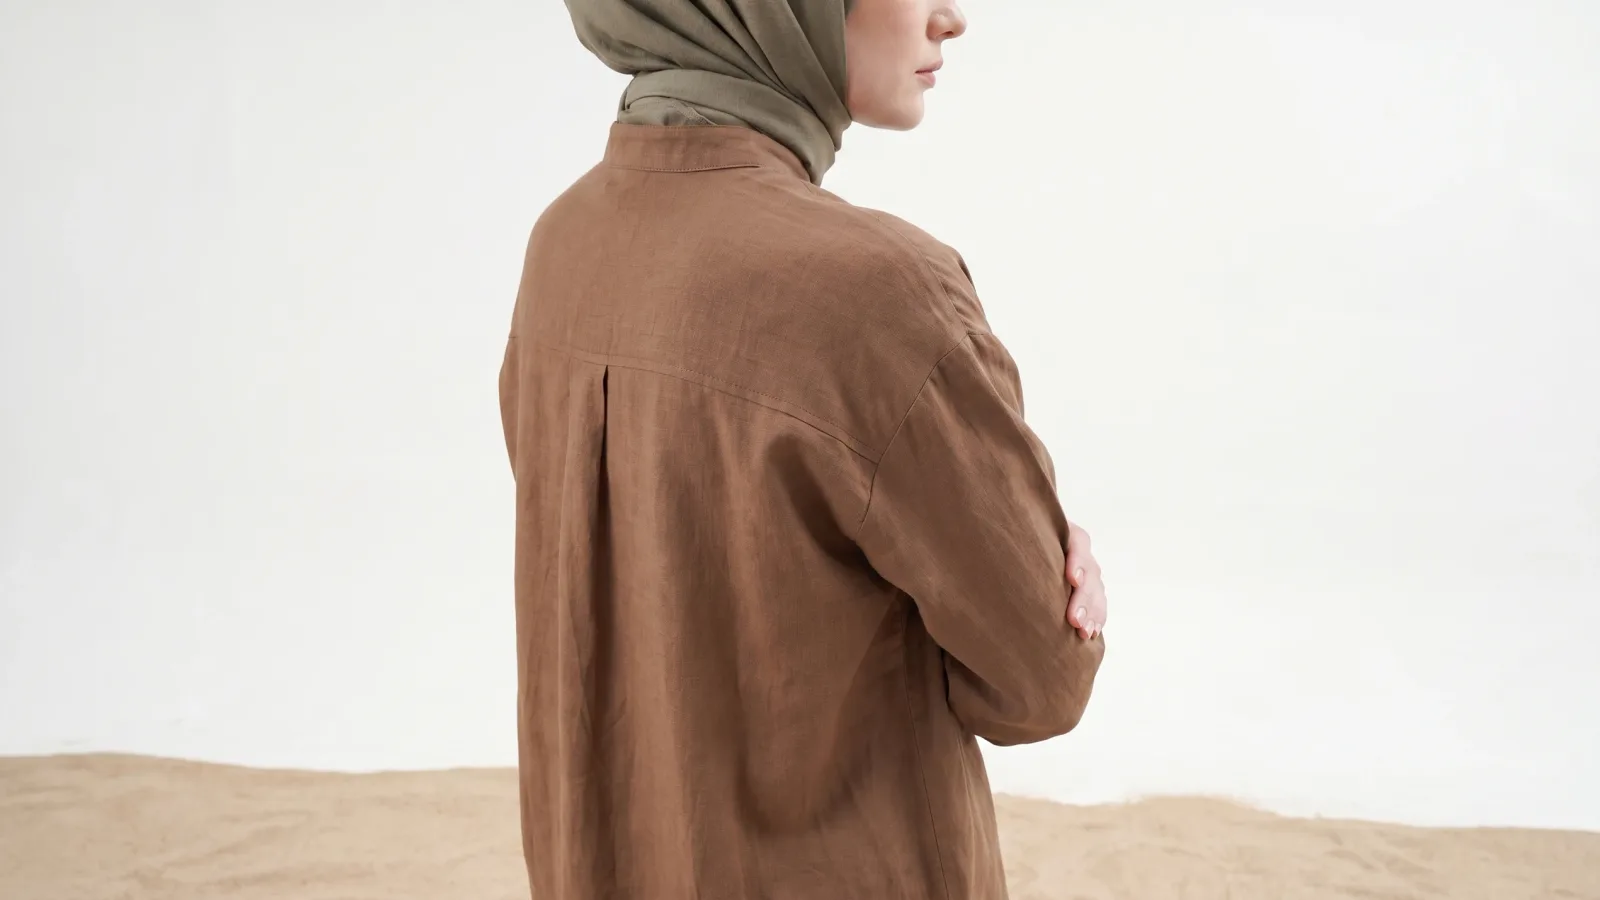
- Back: cut and stitching read from behind too; a share of returns comes from the missing back angle.
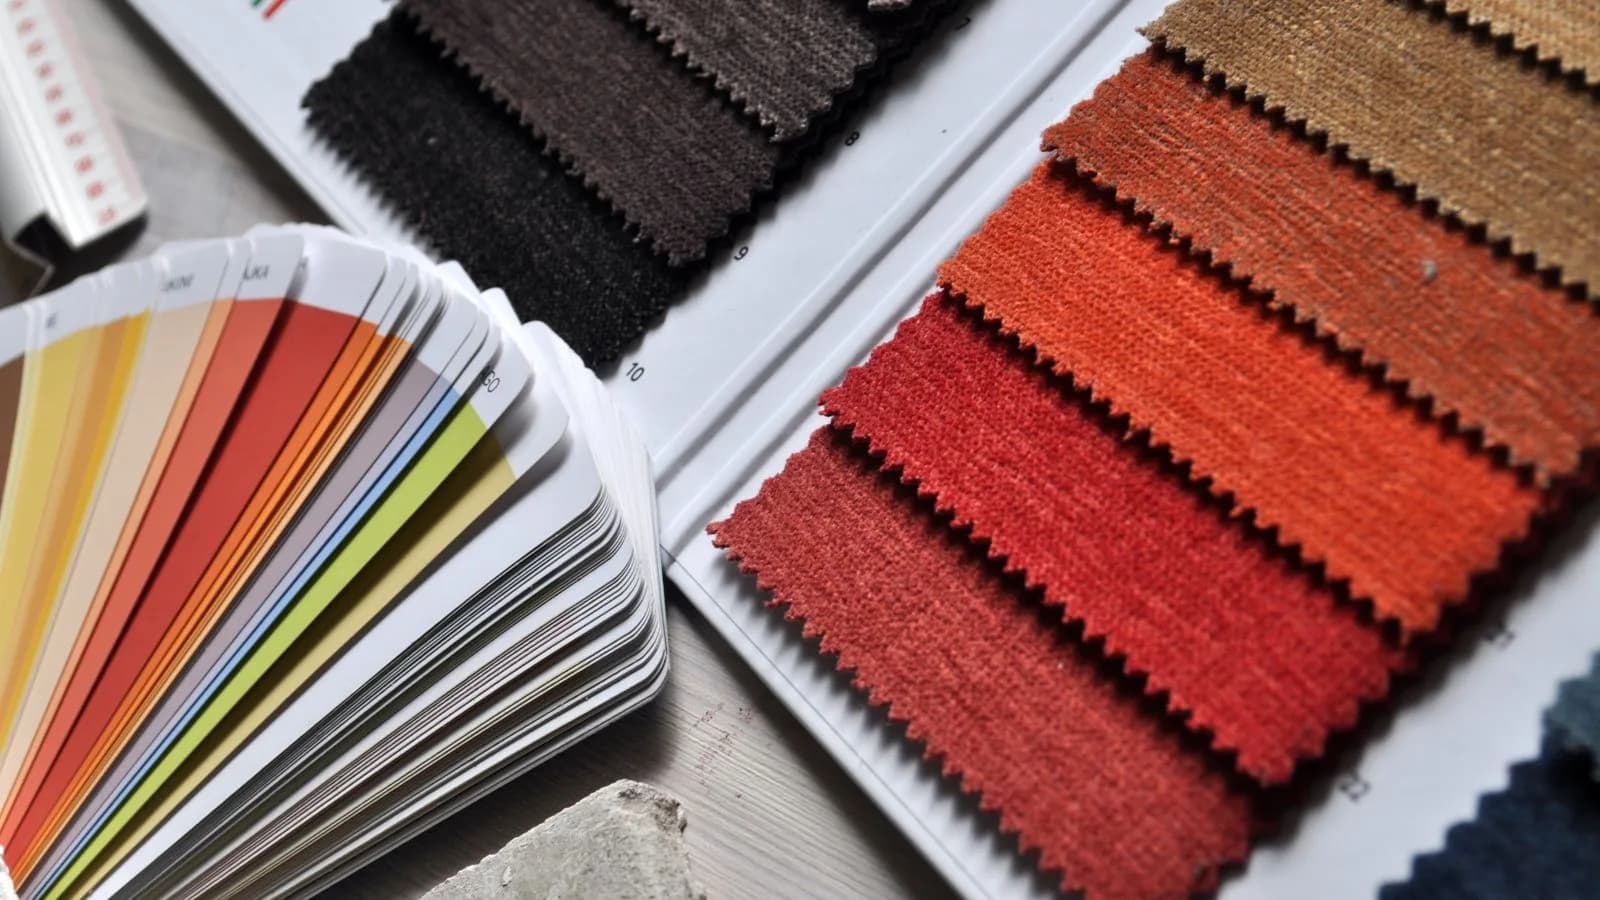
- Detail: a close-up of fabric texture, buttons, stitching and print. "Is the fabric thin?" is answered here.
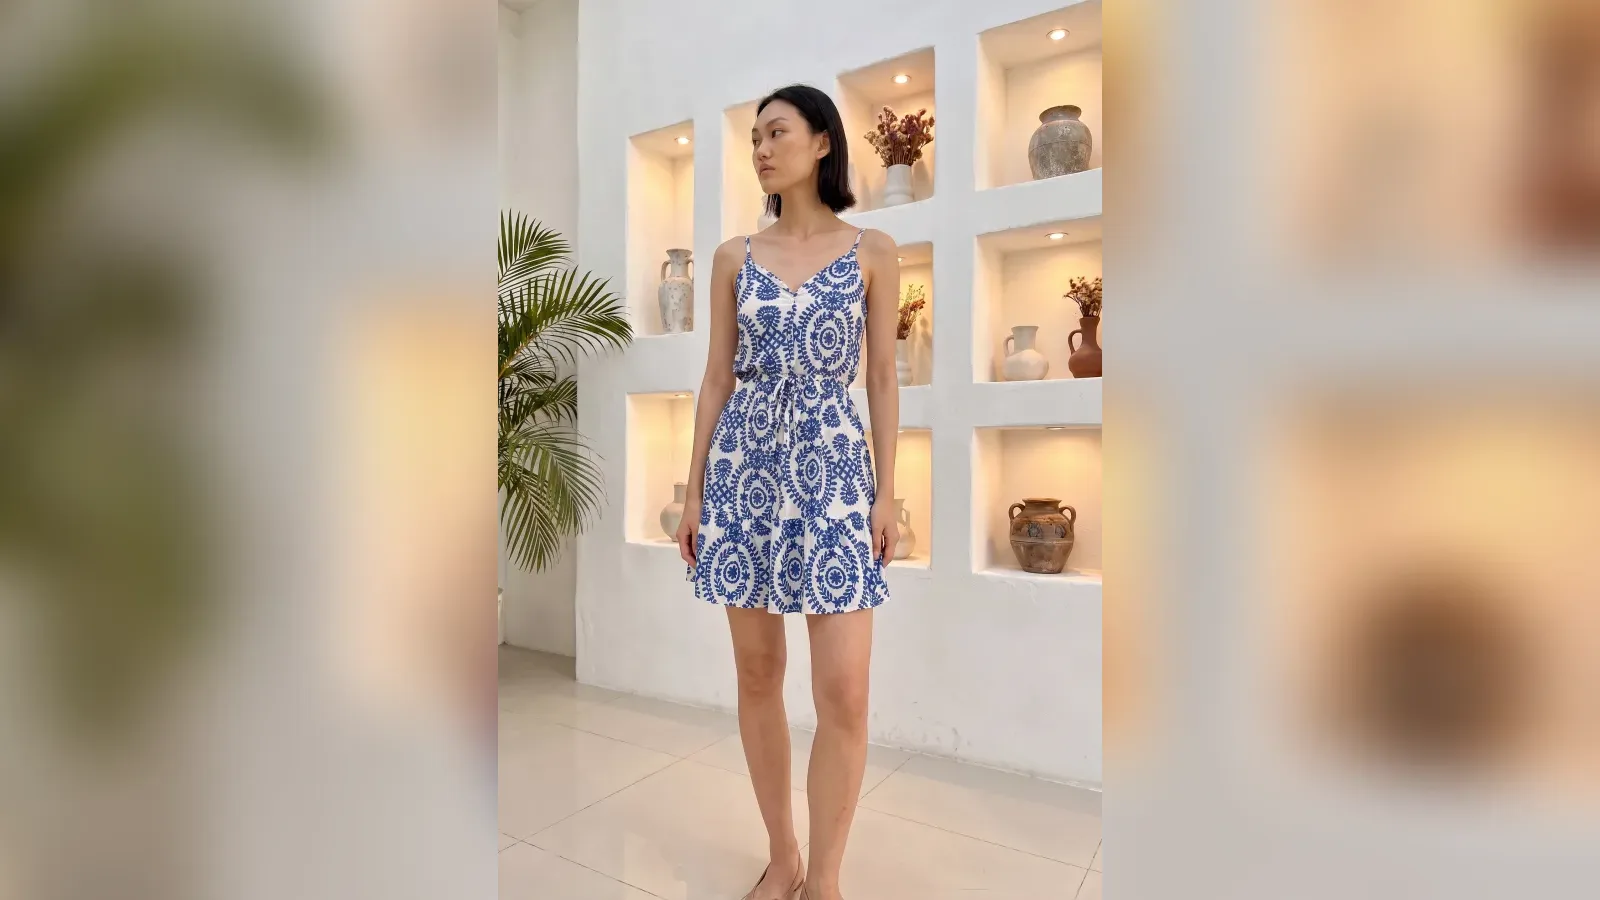
- Worn: fit and drape only read on a body. No model? An AI virtual model generates this frame from your plain photo; the hanger frame you shot at home is a fine input.
Phone settings: a two-minute check
- Wipe the lens. We are serious; half of all blurry frames were fingerprints.
- Turn on grid lines; center the product and keep the phone parallel to the surface.
- Shoot in 3:4; that is the portrait ratio marketplaces want, details in marketplace image rules.
- Lock exposure on the product (press and hold); white backdrops trick phones into underexposing the garment.
- Never use digital zoom; step closer instead.
The editing line: fix, do not change
Editing''s job is removing flaws, not changing the product. Straighten perspective, clean the backdrop, balance brightness; leave color and texture alone. The product on screen and the product in the box must match; the gap comes back as returns. The typical ways this balance breaks are collected in the image mistakes that cost sales.
Final check before publishing
- Does the color match the garment in your hand?
- Four frames done: front, back, detail, worn?
- Backdrop and light consistent with previous products?
- Files in webp, long edge 1600 to 2000 pixels?
The summary: a window, a plain backdrop, four frames and untouched colors. Start with the phone; as volume grows, hand on-model imagery to AI and campaign shoots to a studio. The full scaling path is in the pricing guide.
Frequently Asked Questions
What equipment do I need for clothing photography?+
To start: a phone, a large window and a plain backdrop. If light falls short, add a single softbox or ring light; professional cameras are an investment for later, when volume grows.
What light should clothing be shot in?+
Plenty of soft daylight: the front of a window without direct sun is ideal. Hard sun creates shadows and burnt colors; warm room light and mixed light shift the product color.
How many photos does each garment need?+
Four essential frames: front, back, fabric detail, and worn. These four answer most of the questions customers ask before buying and prevent returns up front.
How do I show the worn look without a model?+
With an AI virtual model: upload the plain frame you shot at home, and the garment is shown on a realistic model within minutes.